Previous Topic

Next Topic

Adding an adapter to an existing team

  1. Open the NCU.
  2. Read Teaming adapters.
  3. Select the team to which you want to add the adapters, select the adapters to be added to the team, and then click Team. If the selected adapters cannot be added to the selected team, the Team button is disabled. Click the adapter or team to select or deselect it. When an adapter or team is selected, it is highlighted.
  4. If any of the selected adapters have incompatible properties, a message appears listing the properties that have been disabled for all adapters on the team because they are not supported by all team members. Click OK.

  5. If any of the selected adapters have VLANs assigned to them, then the VLANs must first be removed before the adapter is added to the team. The following message appears requesting confirmation to remove the VLANs.

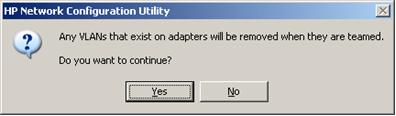
    Click Yes or No. If you click Yes, the adapter is added to the team. If all the adapters on the existing team have 802.1 p/q Packet Tagging enabled, then Packet Tagging remains enabled for this adapter. If any adapter on the existing team does not have Packet Tagging enabled, then it is disabled for all adapters on the team. If you click No, the adapter is not added to the team.

  6. Click OK. A message appears, requesting that you confirm you want to apply all configuration changes. Click Yes to apply the changes. A message appears, requesting that you wait while all the adapters are configured.

  7. After the configuration is complete, another message appears advising that the configuration was completed. Click OK.
  8. If you want to change the settings of any of the protocols bound to this interface (Virtual Miniport), open the Network Connections in Windows Server 2003, Windows Server 2003 x64, Windows Server 2008, and Windows Server 2008 x64, then right-click the newly created Local Area Connection, then select Properties (for example, setting up IP Address in the TCP/IP protocols).

    If you are unsure which Local Area Connection corresponds to the newly created teams, select View from the menu and choose Details. The name of the newly created teams appears in the Device Name column. For example, the first team created has the default name "HP Network Team #1". If you changed the name of the team, that name will be shown in the Device Name column.

  9. Edit the settings on the Local Area Connection as needed.
  10. Repeat these steps as necessary to create additional teams.