The User Key Generation Wizard dialog box allows you to create DSA or RSA user keys step by step. You can open it by clicking User Key Generation Wizard on the Tools menu.
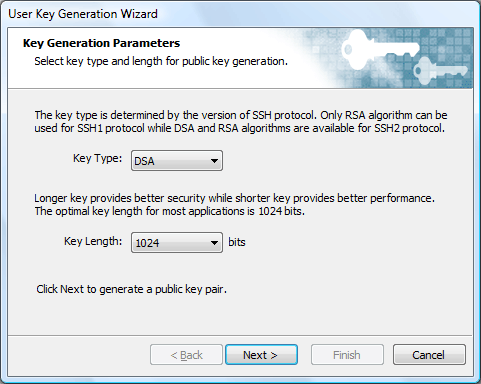
This step allows you to select the type and length of the user key.
Select DSA or RSA in the list. SSH1 protocol supports only RSA keys and SSH2 protocol supports both RSA and DSA. Select the one that is supported by the remote server.
Key LengthSelect a key length in the list. Longer keys provide better security while shorter keys provide better performance. The optimal key length for most applications is 1024 bits.
This step generates a user key with the parameters selected in the previous step.
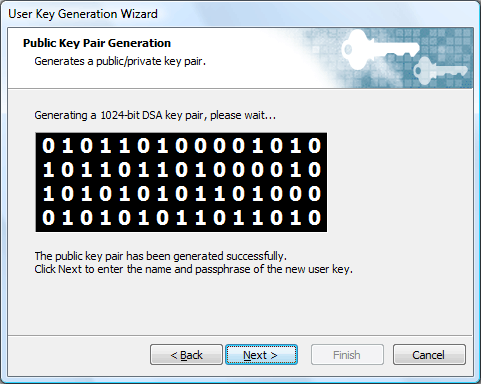
After the key has been generated successfully you can click the Next button.
This step allows you to enter the name and passphrase of the user key.
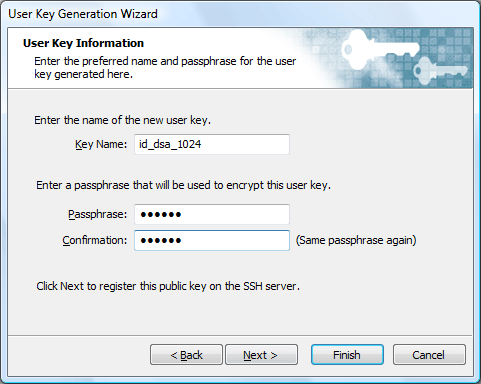
Enter the name of the user key generated. The user key is saved as the name entered here and the name must have valid characters for a filename.
PassphraseEnter the passphrase of the user key. It is used every time when
you open it.
IMPORTANT: You must remember it.
Enter the same passphrase again to confirm it.
This step allows you to register the public key part of the user key to a remote server. You can also register it later on the User Keys dialog box. The private key is stored in the User Keys database of Xshell.
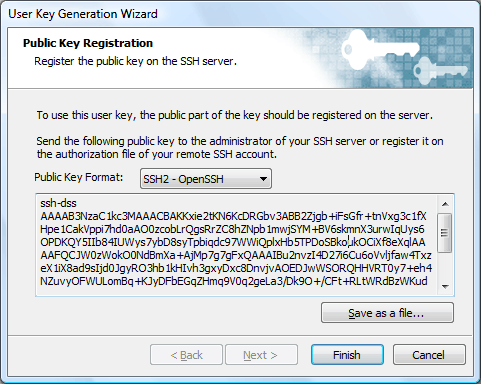
From the list, select one of the formats: SSH1, SSH2-OpenSSH, and SSH2-IETF SECSH. The text box below shows you the public key in the selected format. You can copy the text and store it as a file on the remote server. Depending on the server, how to register the public key is different. In most cases, the following guideline will work for each format.
$ cd
$ chmod go-w . .ssh .ssh/authorized_keys
$ cd
$ chmod go-w . .ssh .ssh/authorized_keys2
$ cd
$ chmod go-w . .ssh2
$ chmod go-w .ssh2/authorization .ssh2/mypublickey.pub
Opens the Save As dialog box. You can save the public key file to be stored in SSH server.