 Important: Important: |
|---|
| This is retired content. This content is outdated and is no longer being maintained. It is provided as a courtesy for individuals who are still using these technologies. This content may contain URLs that were valid when originally published, but now link to sites or pages that no longer exist. |
Microsoft Corporation
June 2000
Summary:This paper addresses how to use custom ActiveX controls in the Microsoft eMbedded Visual Basic 3.0 development system. (7 printed pages)
Contents
Introduction
In developing applications for embedded devices using the
Microsoft eMbedded Visual Tools, you may wish to create your own
ActiveX controls. To do so, you must have Microsoft eMbedded Visual C++ 3.0
development system, the desktop version of Visual C++, and
Microsoft eMbedded Visual Basic 3.0 development system installed on
your development machine. To use your own ActiveX controls, create the desktop version of
the control in Visual C++ and the run-time version in eMbedded
Visual C++ 3.0, making sure to use the same CoClass UUID for the
controls in the .idl files. Once the control is created, you can register it as available
for your eMbedded Visual Basic projects.
For more information on how to create custom ActiveX
controls, see the white paper,
How to Write and Use ActiveX Controls for
Microsoft Windows CE 3.0. To ensure that your custom control is usable in eMbedded Visual
Basic, you must manually update the .idl file of the embedded
control so that the UUIDs match that of the desktop control you
have created.
To manually update the .idl file
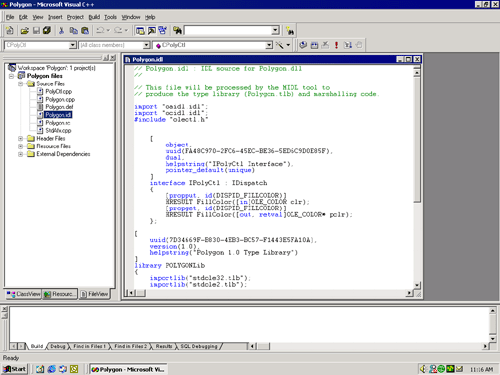
Figure 1. File View
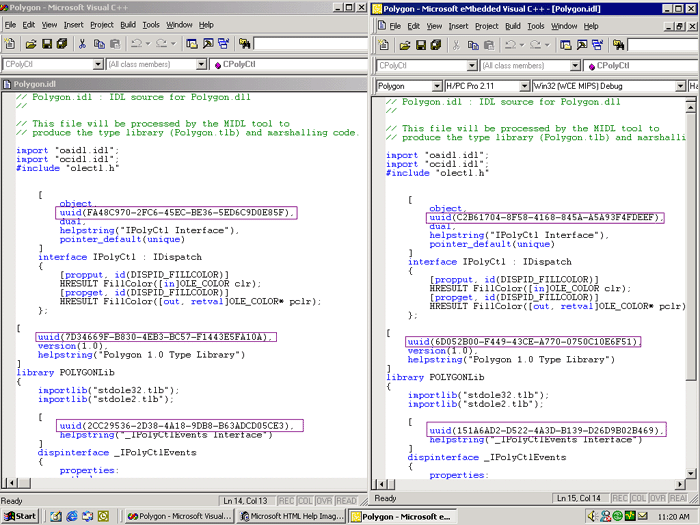
Figure 2. Updating UUIDs
The way an ActiveX control is used determines how it is added to
a project in eMbedded Visual Basic. Some controls are added as
components that can be dropped onto a form at design time. These
ActiveX controls are first added to the
Componentsdialog box, and then added to the Toolbox. Then
they can be placed directly on a form. Others, such as the ADOCE
and Finance controls, are added as objects via code; adding control
objects is discussed in the section,
Adding an ActiveX Control Object by
Reference.
To add an ActiveX control component
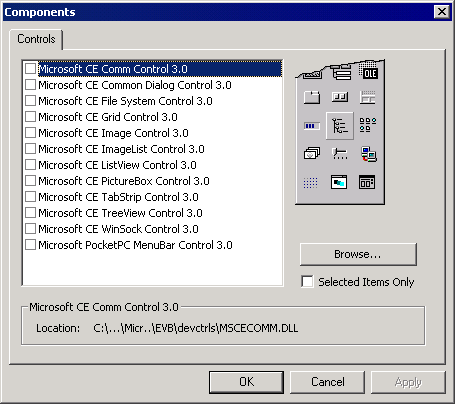
Figure 3. Components dialog box
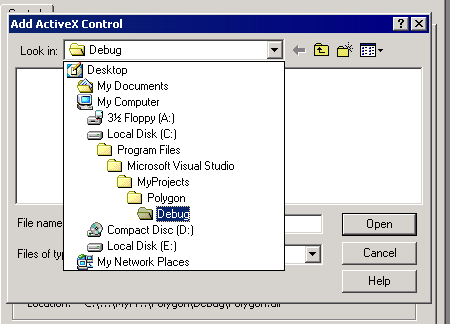
Figure 4. Navigating to the desktop ActiveX control
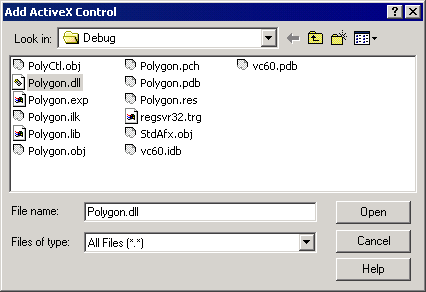
Figure 5. Opening the DLL
At this point, you will receive a message informing you that the
control will be marked as usable for the current platform, and will
be added to the toolbox.
The control, while now available at design time, will not be
automatically downloaded to the device when the project is built,
so you will need to use the Control Manager or eMbedded Visual C++
to add the control to the device, as described in the section,
Adding a Control to an Embedded
Device. If a control is added as an object via code, rather than dropped
onto the form, you must add a reference to the control in the
Referencesdialog box. If you wish to create an object for
which you can write event handlers, use the
CreateObjectWithEventsfunction to instantiate the object. If
you wish to create an object that does not fire events, or for
which you do not need to catch the events fired, use the
CreateObjectfunction. Both of these functions create
invisible ActiveX controls only; they cannot create graphical
ActiveX controls.
To add an ActiveX control object by reference
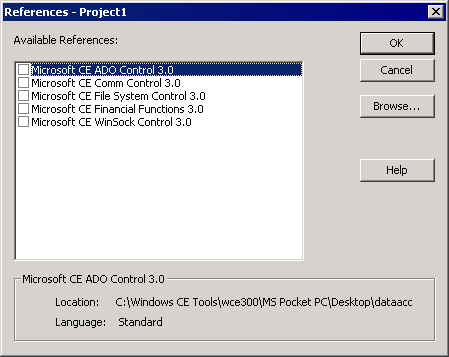
Figure 6. References dialog box
To add a control to an embedded device
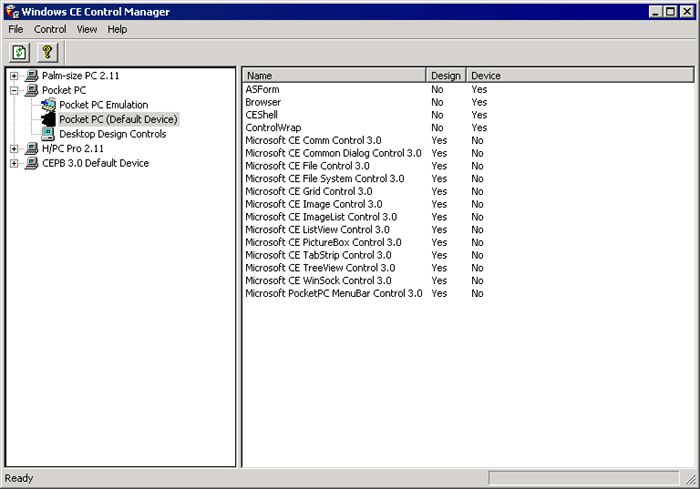
Figure 7. Control Manager window
To install a control not listed in Control Manager
The .dll file will be copied and then registered on the device
or in the emulation environment.
Standardizing the .Idl Files
How to Mark a Control as Usable for
eMbedded Visual Basic
Adding an ActiveX Control
Component
Adding and ActiveX Control Object by
Reference
Adding a Control to an Embedded
Device
Introduction
Note Both the desktop and CE
device versions of the custom control must have the same UUID. To
ensure the UUIDs are the same, follow the procedure described in
the section,
Standardizing the .Idl
Files.
Standardizing the .Idl Files
Note Figure 2 shows only three
UUIDs from each project, because that is what appears in a single
screen. There are actually four UUIDs that need to be updated for
this example. When working with your own custom controls, scroll
through the .idl files to make sure you have updated all of the
UUIDs.
How to Mark a Control as Usable for
eMbedded Visual Basic
Adding an ActiveX Control
Component
Adding an ActiveX Control Object
by Reference
Note Both the desktop and CE
device versions of the custom control must have the same
UUID.
Adding a Control to an Embedded
Device
