|

A service pack is a product-specific collection of
updates that fix security, program compatibility and system
reliability issues. It also provides enhancements, administration
tools, drivers and additional components that have been developed
since the product's release. In short, a service pack helps to keep
your product current and extends its functionality.
This guide will describe the easiest way possible
to slipstream (also known as 'Integrate') a Service Pack into
Windows 2000, XP or 2003.
To do this, we will only need one program - MSFN's
very own popular nLite created by nuhi. While nLite is
primarily aimed to remove components to slim down a Windows CD, it
has the required tools to do just an automated Service Pack
slipstream as well as create a CD image.
Prerequisites:
- A Windows 2000, XP, or 2003 CD
- The latest "Network Install" Service Pack
for one of the above Operating Systems
- Suitable CD Burning software capable of
burning .ISO files (Nero, Alcohol, Easy CD Creator, etc.)
- nLite
Before we start, make sure you are doing this on an
NT Operating System (those are Windows 2000, XP or 2003) otherwise
the slipstream will not work. nLite also requires the .NET
Framework to function.
Let's get started!
Download the latest version of nLite from the
nLite
Download Page. If you prefer not to install nLite, you can grab
the self-extracting archive instead. Start up nLite using the
shortcut on the desktop (for Installer), or double-click on
nlite.exe directly (from the self-extracted archive).
The first thing to do on nLite is to instruct where
to find your Windows CD, and then instruct where to copy the files
to on your Hard Disk; which are illustrated in the screenshots
below:
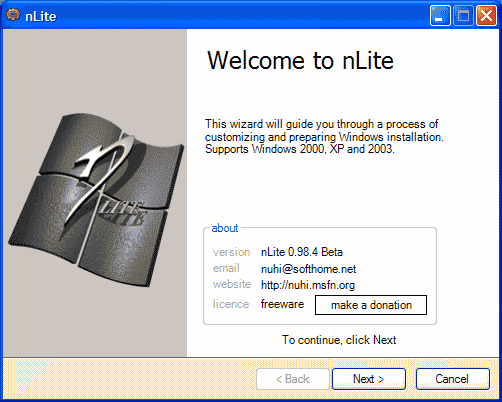
|
| Picture 1 - Initial nLite Window
|
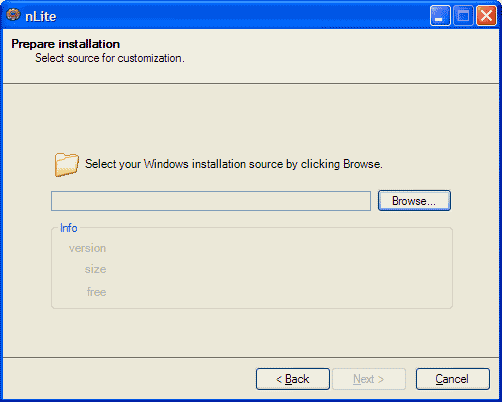
|
| Picture 2 - Click on Browse
|
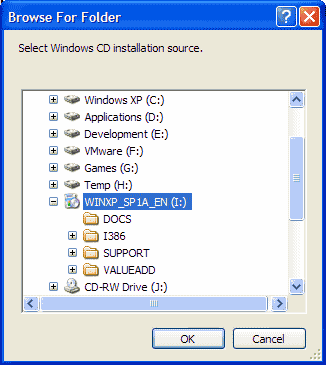
|
| Picture 3 - Choose location of Windows CD
|
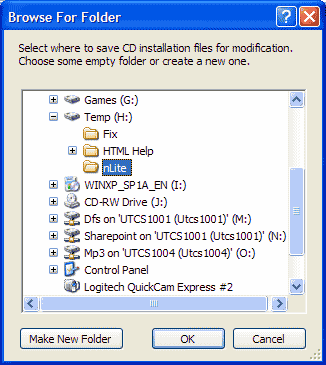
|
| Picture 4 - Choose where to copy to
|
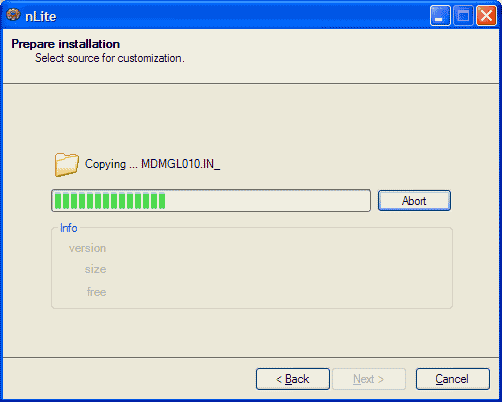
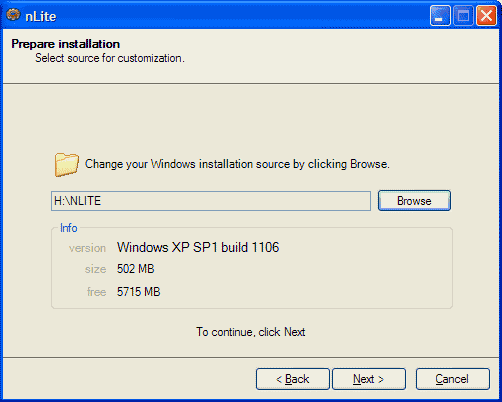
After clicking on OK, files will be copied to a folder
you specified on your Hard disk from your Windows CD:
|
| Picture 5 - Copying files
|
|
| Picture 6 - Copying finished
|
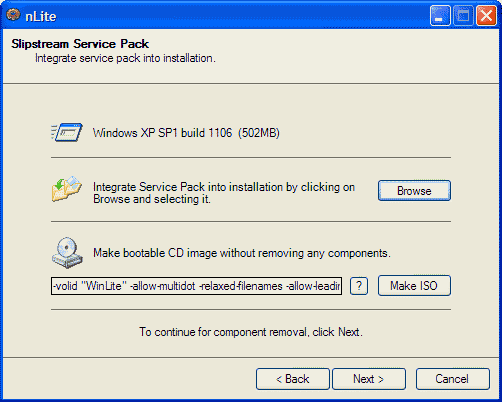
Click on Next. In here, we can choose a Service Pack to
slipstream with the Windows Setup files we copied to the Hard Disk
a moment ago:
|
| Picture 7 - Browse to select a Service Pack
|
|
| Picture 8 - Choose the latest Service Pack file
|
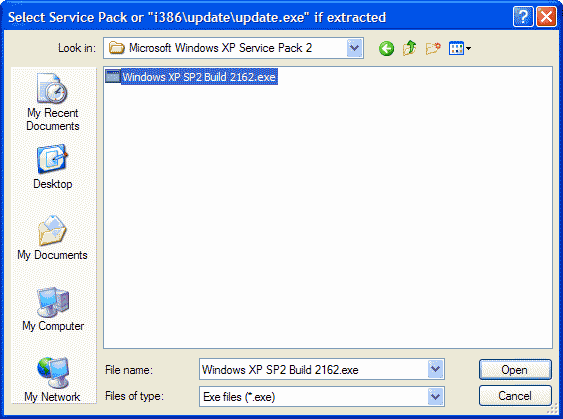
Once you have clicked on Open, the slipstream process will
begin. You will see "extracting" and "updating files" windows
appear during this time.
Windows Service Packs are 'cumulative' - in short, it includes
fixes that past service packs contained, so there is no need to
slipstream the first release, second and so on. In this case, I
have chosen Windows XP Service Pack 2, which is the latest at the
time of writing up this guide.
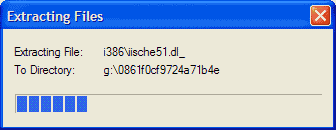
|
| Picture 9 - Extracting Files
|
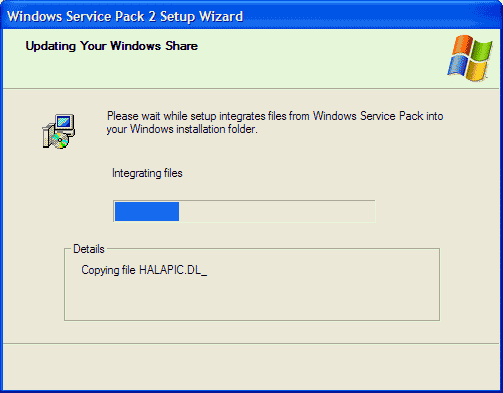
|
| Picture 10 - Copy files to Windows installation folder
|
|
| Picture 11 - Finish copy file to Windows installation
folder
|
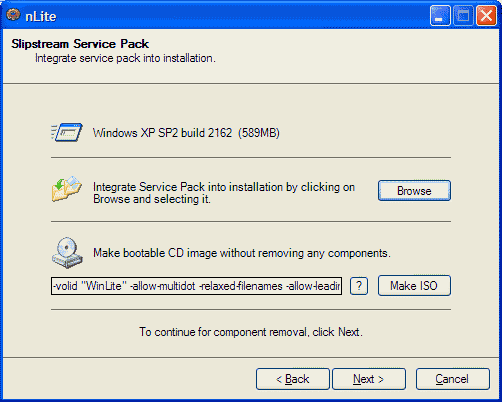
At this point, you can choose to click on Next and remove
unwanted components from your Windows CD to speed up installation
and various other advantages (see nLite homepage for more
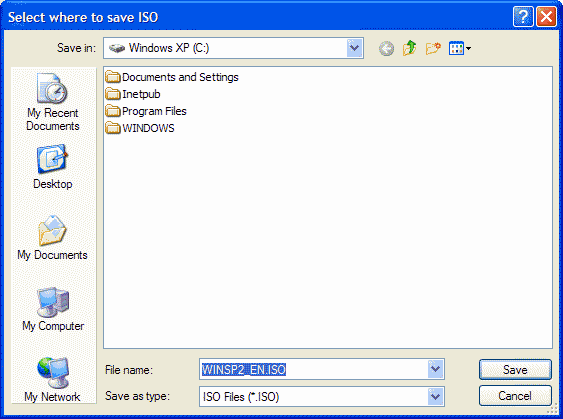
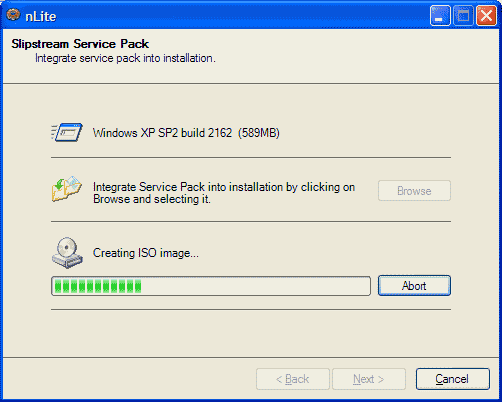
information). Otherwise, click on Make ISO to finish the job and
create your ISO file (for personal preference, you may want to
change your CD label in the highlighted area first in the
screenshot below). Once finished, quit the program.
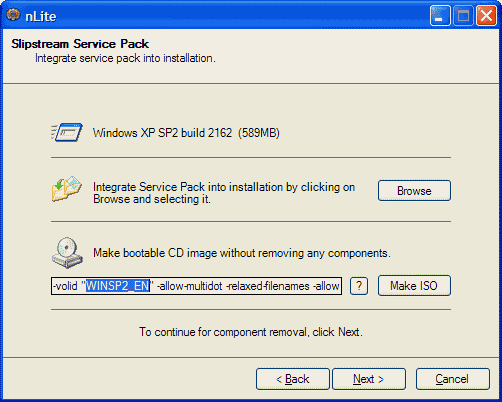
|
| Picture 12 - Edit CD Label, then Make ISO
|
|
| Picture 13 - Choose a location to save the ISO
|
|
| Picture 14 - Making ISO will begin
|
You should now have a single ISO file sitting on your Hard Disk;
it's an image dump of a CD which you can burn to CD using a capable
burning application that supports ISO files. For Nero, you would go
to File -> Burn Image -> select your ISO file, and start
burning. It's as simple as that!
|


