Slipstreaming a Service Pack, is the process to integrate the
Service Pack into the installation so that with every new
installation the Operating System and Service Pack are installed at
the same time.
Slipstreaming is usually done on network shares on corporate
systems. But with the advent of CD burners, it does actually make
some sense for the home user or small business user to do the
same.
Microsoft added the ability to Slipstream a Service Pack to
Windows 2000 and Windows XP. It not only has the advantage that
when you reinstall your OS, you'll don't have to apply the Service
Pack later, also if you update any Windows component later, you'll
be sure that you get the correct installation files if Windows
needs any.
For the following tutorial you will need the following:
- A copy of the original Windows XP CD or ISO.
- The latest version SP1 (at this moment SP1a).
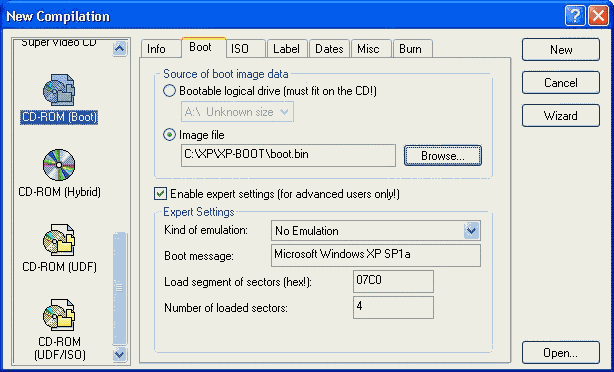
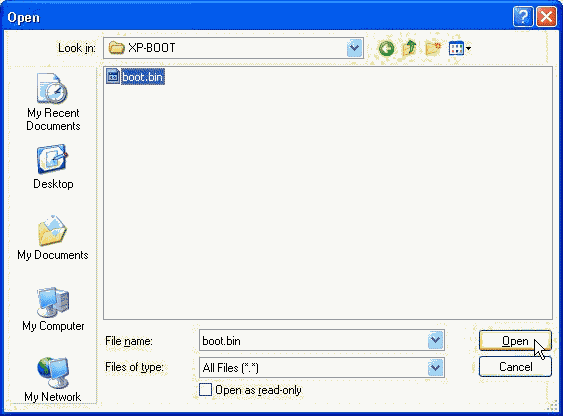
- The boot file which you can download Here.
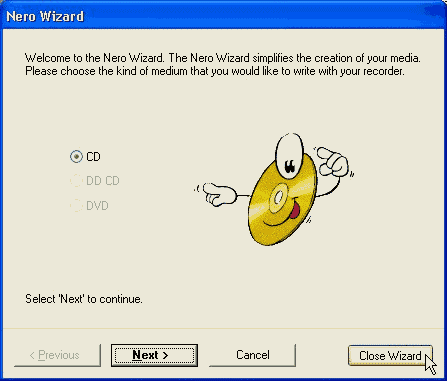
- Nero.
First off start by Creating a folder called XP on your hard
drive (I used C: drive in this guide). A minimum of 800MB is
required. In the XP folder, create three sub-folder called CD-ROOT,
XP-BOOT, and XP-SP1. You should have something like this when your
done (see picture 1).
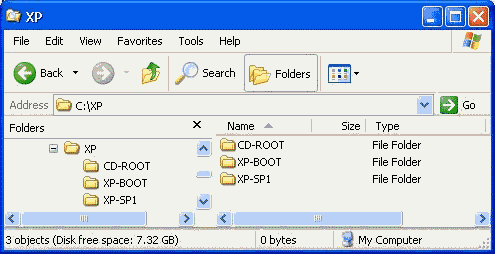
|
| Picture 1
|
- Copy the entire Windows XP CD (or extract a image "ISO") into
folder CD-ROOT.
- Copy your Service Pack 1 (SP1) file into C:\XP.
- Rename the Service Pack file to XP-SP1.EXE.
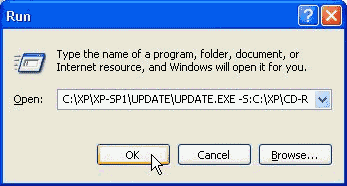
- Extract the Service Pack from the Run Dialog using the command
(see picture 2):
C:\XP\XP-SP1.EXE -U -X:C:\XP\XP-SP1
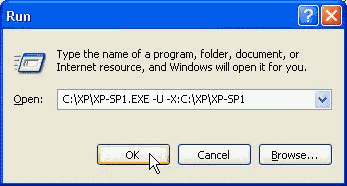
|
| Picture 2
|
- Select Use the date and time from the original file from
File Dates (see picture 12).
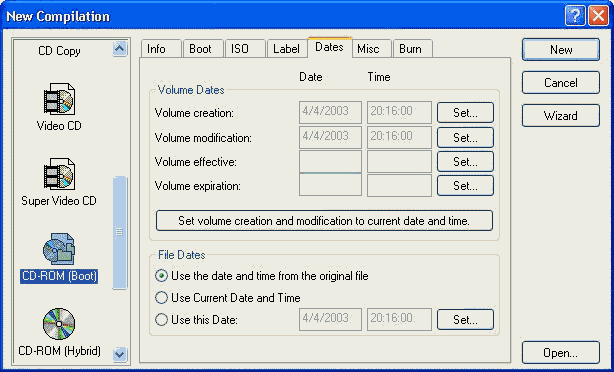
|
| Picture 12
|
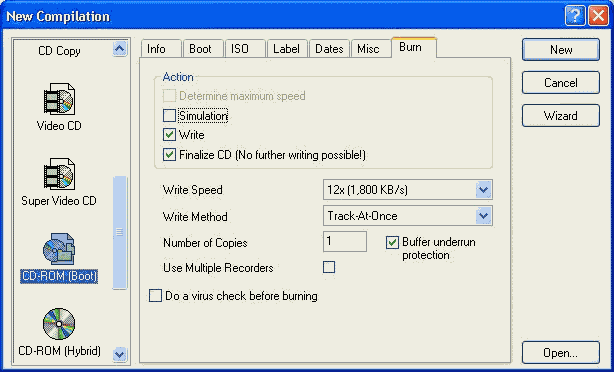
- Check Write (see picture 13).
- Check Finalize CD (No further writing possible!).
- Set Write Method to Track-At-Once.
|
| Picture 13
|
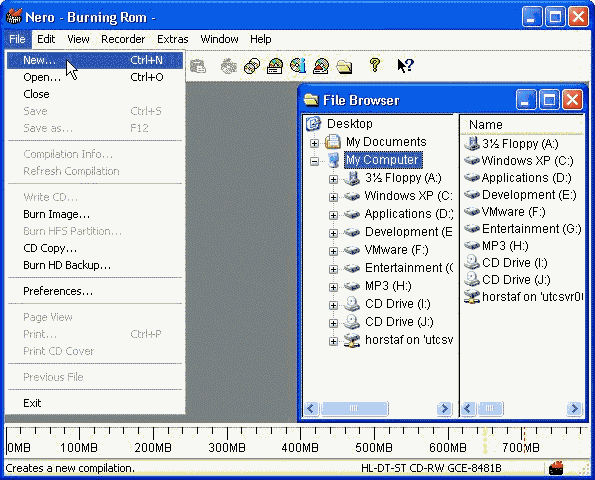
- Locate the folder C:\XP\CD-ROOT (see picture
1).
- Select everything in the folder and drag it to the ISO
compilation panel.
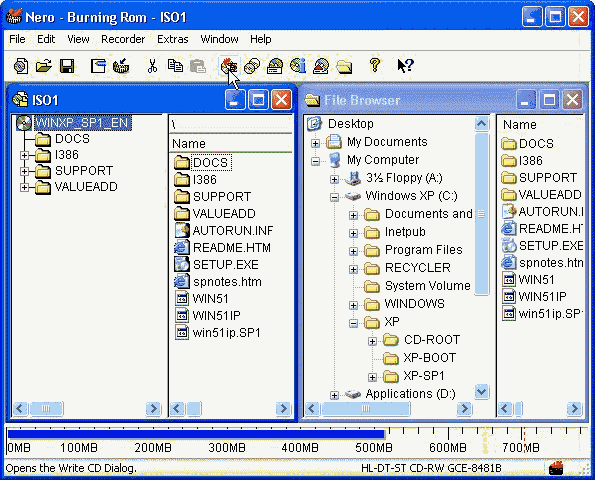
- Click the Write CD Dialog button.
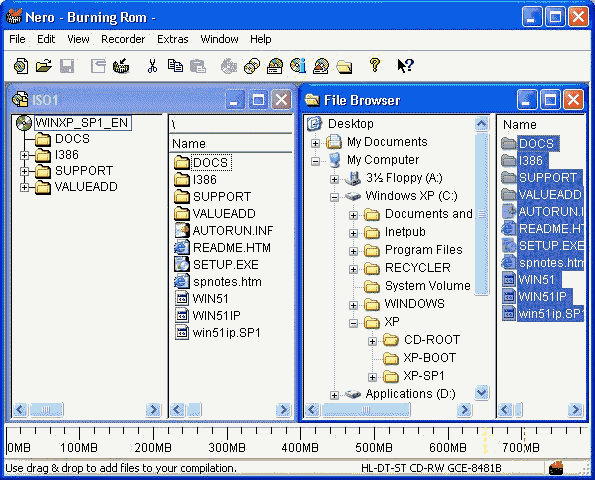
|
| Picture 14
|
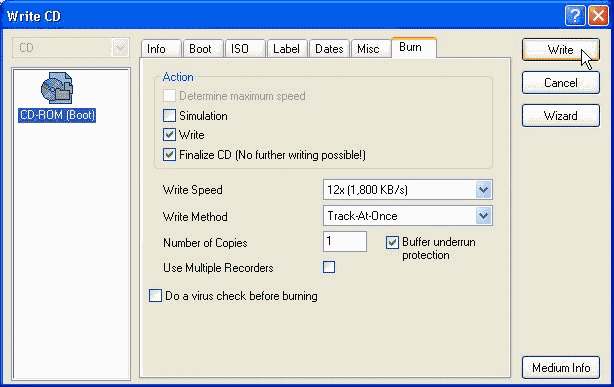
- Click the Write button (see picture 15 and
16).
|
| Picture 15
|
|
| Picture 16
|
- Wait for CD compilation to finish (see picture 16).
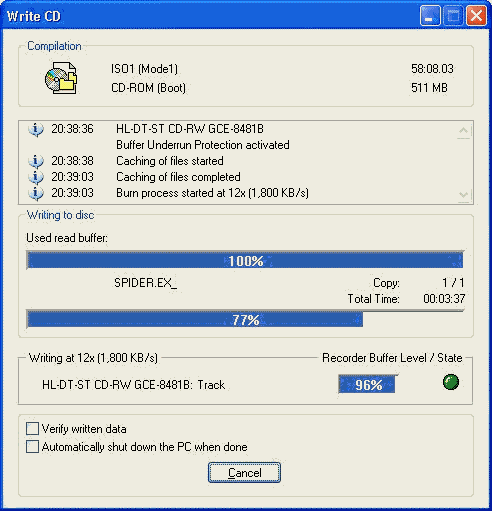
|
| Picture 17
|
- Click OK when burning is complete (see picture
17).
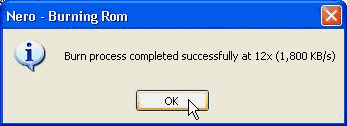
|
| Picture 18
|
|