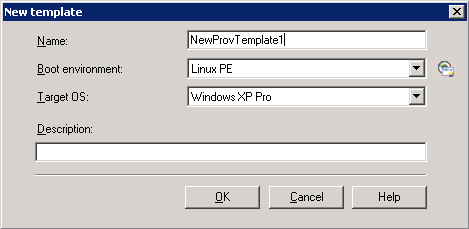
Use the Template dialog box to create a provisioning template. A template is a series of actions or building blocks to be applied to the server in a particular order. A template can have one or many actions. You can change the task order in a template. The action sequence can be changed where the action makes sense, but can't be changed where it does not make sense (for example, you can't place a post-OS-specific action before the installation of the OS). There are numerous pre-configured templates for various vendors (HP, Dell, and so forth). Templates are stored as XML files in the database.

To change template properties, double-click the template or right-click the template and select Properties.
You can delete only templates that have not been previously executed (locked) and that are not included in other templates. Locked templates can be deleted (removed) from the list view but remain in the database.