Optionally, you can modify
/tftpboot/linux-install/msgs/boot.msg to use custom boot
messages.
Installing targets using PXE
Power up the server.
Immediately review the iSCSI option ROM
messages during POST to confirm that the Option ROM initialized
successfully and is able to login onto the target disk.
When prompted, press <F12> for PXE installation.
Enter the label number (specified in the
above section) at the PXE boot prompt and press the Enter key. The installation starts
pulling the installation sources from the NFS server.
Select the required language, keyboard, and
NFS image install.
Select the appropriate network device from
which to do the install and select OK.
Enter the NFS
server name and Red Hat
Enterprise Linux Server directory. This is the same name
and directory that was entered in step 2 above. After the Red Hat
Enterprise Linux 5 GUI is displayed, select Next.
Verify that the iSCSI initiator has
connected to the target and the iSCSI target drive appears as an
available drive for the installation.
Follow the traditional installation
procedure as prompted. The installation automatically sets up the
disk for iSCSI boot during post installation. After the disk is
configured for iSCSI boot, the standard OS installation screen
appears and the system reboots.
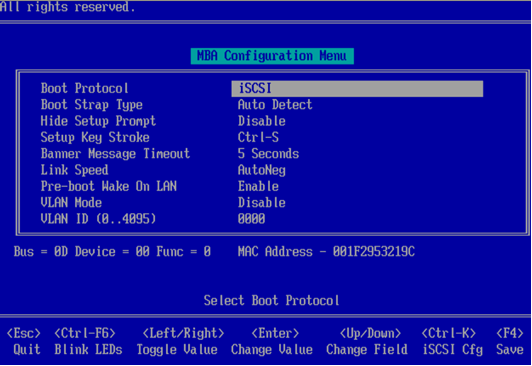
On initial boot, enable booting to the iSCSI
target drive by selecting Ctrl-S. In the MBA Configuration Menu
select the appropriate function key combination (varies based on
configuration see menu for your combination) to enter the iSCSI Cfg
menu.
Select a device, if prompted.
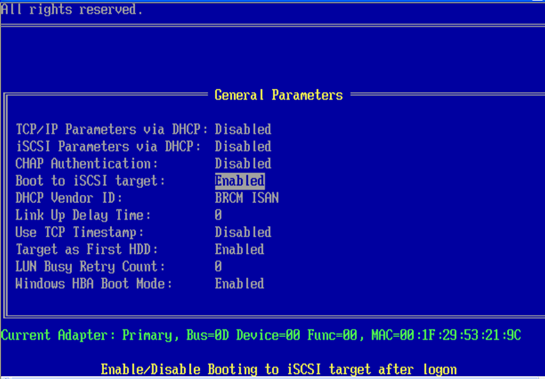
In the iSCSI Configuration Utility menu,
select General Parameters
and modify the parameter Boot to iSCSI
target to be Enabled.
Select<Esc> twice and select Exit and Save Configurations.
Press <Esc> to exit the Device List, if
prompted and then select F4
to exit; otherwise, just press F4 to exit.